Overclocking is a powerful technique that can boost the performance of your gaming PC, allowing you to squeeze out more power from your CPU and GPU, resulting in higher frame rates and better overall performance. Whether you’re looking to enhance your gaming experience or push your system to its limits, overclocking can provide that extra edge you need.
However, overclocking requires careful consideration, as it can increase heat output, power consumption, and potentially reduce the lifespan of components if done improperly. In this guide, we’ll walk you through how to safely overclock your gaming PC for maximum performance, covering both CPU and GPU overclocking.
1. Understanding Overclocking
Overclocking involves running your CPU, GPU, or other components at speeds higher than their factory default settings. The goal is to increase performance by making these components run faster, resulting in a boost in processing power and smoother gameplay.
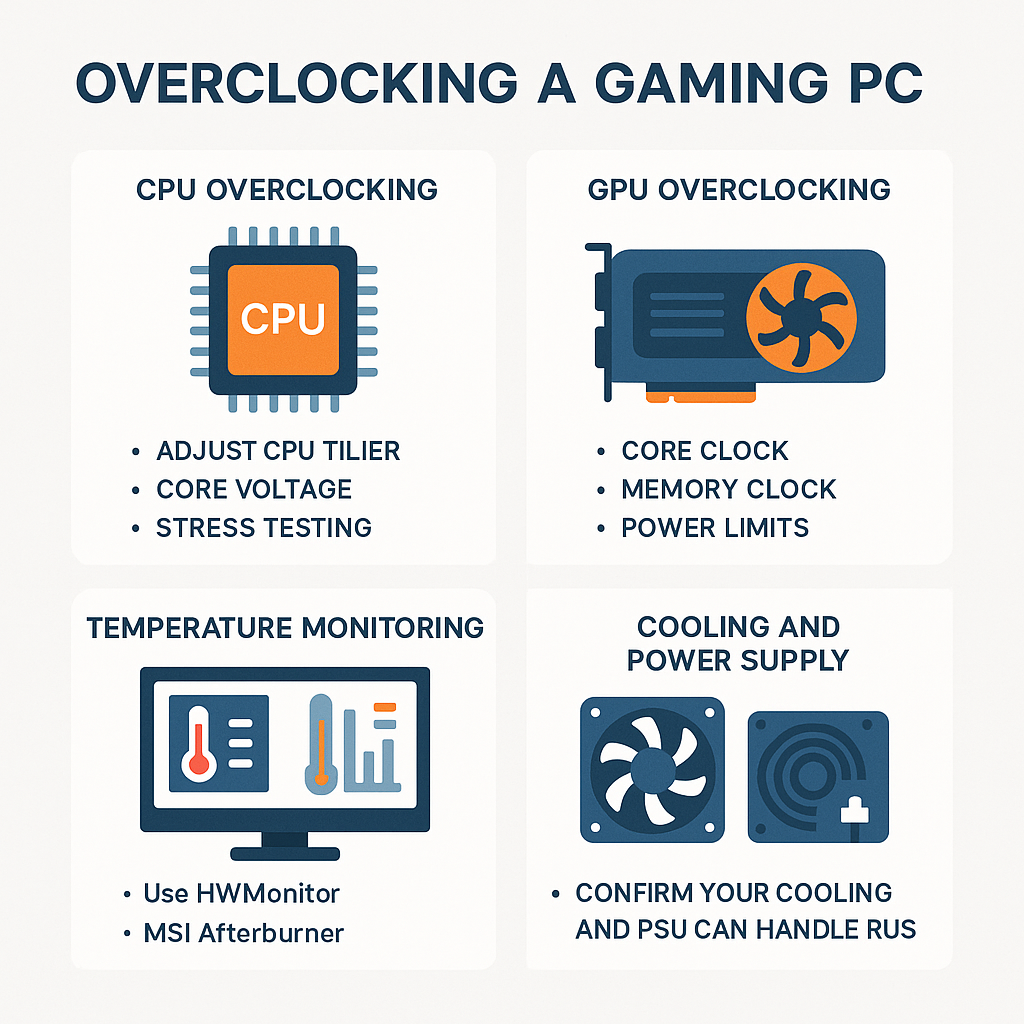
- CPU Overclocking: This increases the clock speed of your processor, improving its performance in tasks like gaming and multitasking.
- GPU Overclocking: This boosts the clock speeds of your graphics card, leading to improved frame rates and smoother gameplay, especially in graphically demanding games.
Before overclocking, it’s crucial to understand that not all CPUs, GPUs, and motherboards are designed for overclocking. For overclocking to be possible, you need compatible hardware.
2. Pre-Overclocking Preparation
Before you start overclocking your PC, it’s essential to make sure your system is ready and safe for the process.
1. Check Hardware Compatibility
Not all components are designed to be overclocked. Here’s what you need to check:
- CPU: Look for an unlocked CPU that supports overclocking. Intel CPUs with a K or KF suffix (e.g., i7-12700K) are overclockable, as are most of AMD’s Ryzen series processors.
- Motherboard: Ensure you have a motherboard with an overclocking chipset, like the Z-series (for Intel) or X-series (for AMD) boards. These motherboards provide more voltage and power management options necessary for overclocking.
- Cooling: Overclocking generates additional heat, so make sure you have an adequate cooling solution. A good air cooler or an AIO liquid cooler is essential to keep your system stable under load.
2. Stress Testing Tools
Before and after overclocking, you’ll need stress-testing software to ensure that the system runs smoothly and stably. Some popular tools for testing your CPU and GPU include:
- Prime95: A CPU stress test tool to push your processor to its limits and check stability.
- AIDA64: A comprehensive stress testing tool for both CPU and GPU.
- FurMark: A tool for stress testing your GPU by rendering complex visuals.
3. How to Overclock Your CPU
Overclocking your CPU can give you an immediate performance boost in CPU-heavy tasks like gaming, streaming, and video rendering. Here’s how to safely overclock your CPU.
1. Enter the BIOS/UEFI
Overclocking your CPU is generally done through the BIOS or UEFI on your motherboard. To access this:
- Restart your PC and press the designated key (usually Delete, F2, or Esc) during the boot process to enter the BIOS.
- Make sure to reset your BIOS settings to defaults before you start.
2. Adjust CPU Multiplier/Clock Ratio
Once in the BIOS, look for the CPU multiplier or clock ratio settings. These settings control how fast your CPU runs. By increasing the multiplier, you raise the CPU clock speed, thereby overclocking the processor.
- Example: If your base CPU clock speed is 100 MHz and your multiplier is set to 36, you’re running at 3.6 GHz. Increasing the multiplier to 40 would set your CPU to 4.0 GHz.
3. Increase Core Voltage (Vcore)
After adjusting the multiplier, you’ll need to increase the core voltage (Vcore) to ensure the CPU remains stable at the higher clock speeds. Start by increasing the Vcore by small increments (e.g., 0.01V) and test stability after each change.
- Caution: Increasing the voltage can generate more heat, so make sure your cooling system is capable of handling it.
4. Stress Test and Monitor Temps
After making changes, it’s essential to stress test your CPU to ensure stability. Use tools like Prime95 to push your CPU to its limits while monitoring the temperature using software like HWMonitor or Core Temp.
- Keep an eye on temperatures—ideally, your CPU should stay below 85°C under load.
- If your system becomes unstable (e.g., crashes or freezes), reduce the clock speed or voltage incrementally until you find a stable configuration.
5. Fine-Tune for Stability
Once you achieve a stable overclock, continue testing for several hours to ensure that the CPU remains stable during long gaming sessions. If the system crashes, dial back the clock speed or adjust the voltage.
4. How to Overclock Your GPU
Overclocking your GPU can provide significant improvements in frame rates and performance, especially in graphically demanding games. The process is slightly different from CPU overclocking, as it’s done through software rather than the BIOS.
1. Download Overclocking Software
Use tools like MSI Afterburner, EVGA Precision X1, or ASUS GPU Tweak to overclock your GPU. These tools allow you to adjust the core clock, memory clock, and fan speed.
2. Increase GPU Core Clock
Start by increasing the core clock speed in small increments, usually by 15-30 MHz at a time. After each adjustment, test the system with a GPU-intensive game or a benchmarking tool like 3DMark or Unigine Heaven.
- GPU Boosting: Most modern GPUs come with automatic overclocking features (e.g., NVIDIA’s GPU Boost), but manual overclocking can offer more fine-tuned control.
3. Increase Memory Clock
Next, adjust the memory clock. This controls the speed at which your VRAM operates. Again, increase the memory clock in small increments (e.g., 25-50 MHz) and test the system after each adjustment. Memory overclocking can improve texture loading and overall performance in games.
4. Increase Power and Temperature Limits
Some software tools allow you to increase the power limit and temperature limit. This gives the GPU more room to increase performance while preventing thermal throttling. However, increasing the power limit can also increase power consumption and heat output, so make sure your cooling solution is up to the task.
5. Stress Test and Monitor Performance
After overclocking, stress-test the GPU using tools like FurMark to ensure it runs stably under load. Monitor the GPU’s temperature, clock speeds, and frame rates while gaming to ensure the system performs well without instability.
- Keep the GPU temperature below 85°C for optimal performance and longevity.
5. Common Issues and How to Resolve Them
1. System Instability
If your system becomes unstable (e.g., crashes or freezes), try lowering the overclock slightly or increase the voltage. It’s important to find a balance between performance and stability.
2. Overheating
Overclocking generates additional heat, so if your temperatures exceed 85°C under load, you’ll need to improve your cooling solution. Consider upgrading your air cooler or opting for an AIO liquid cooling solution for better performance.
3. Power Consumption
Overclocking increases the power demand from your system. Make sure your power supply unit (PSU) is powerful enough to handle the additional load. A 750W or 850W PSU is recommended for high-end builds with overclocked CPUs and GPUs.
6. Conclusion
Overclocking your gaming PC can provide a significant performance boost for gaming and other intensive tasks, but it requires caution and careful monitoring. By overclocking both your CPU and GPU, you can achieve better frame rates, smoother gameplay, and an overall enhanced experience, especially when playing demanding games or using VR.
Always remember to start small, gradually increase speeds, and stress-test each change to avoid system instability. With the right hardware, cooling, and settings, you can safely push your PC to the limits and enjoy the performance benefits of overclocking.
Leave a Reply